


Ok, here goes. First you need to figure out what size you want your bag. I just measured a sandwich bag and added 1 inch to the measurements for seam allowances. Or just pick a number! How about 6" high by 6" wide? Super easy! SO, I take my outer fabric and cut it 13" long (because you want it twice the finished length of your bag plus an inch) by 7" wide. If you are doing a lining, then you want to cut a lining piece the same size. (now if having the fabric on the back of your bag be upside down will bother you, then you can cut the fabric in half down the middle and sew them back together (right sides together) so that the fabrics will both be right side up)

I cut a strip of velcro approx. 5" long, but you can adjust it as you like, and also as needed for the size of your bag. I also like to cut this in half long ways because a thinner strip will hole the bag together just fine. And it pulls open a little easier for my 2 year old :)
Now, I sew one strip of velcro across one end of my lining fabric (on the right side) about an inch, inch and a half from the edge. Sew the other piece of velcro to the opposite end. I like to sew a big zig zag down the length of the velcro to make sure it won't come off. It will be opened a lot :)
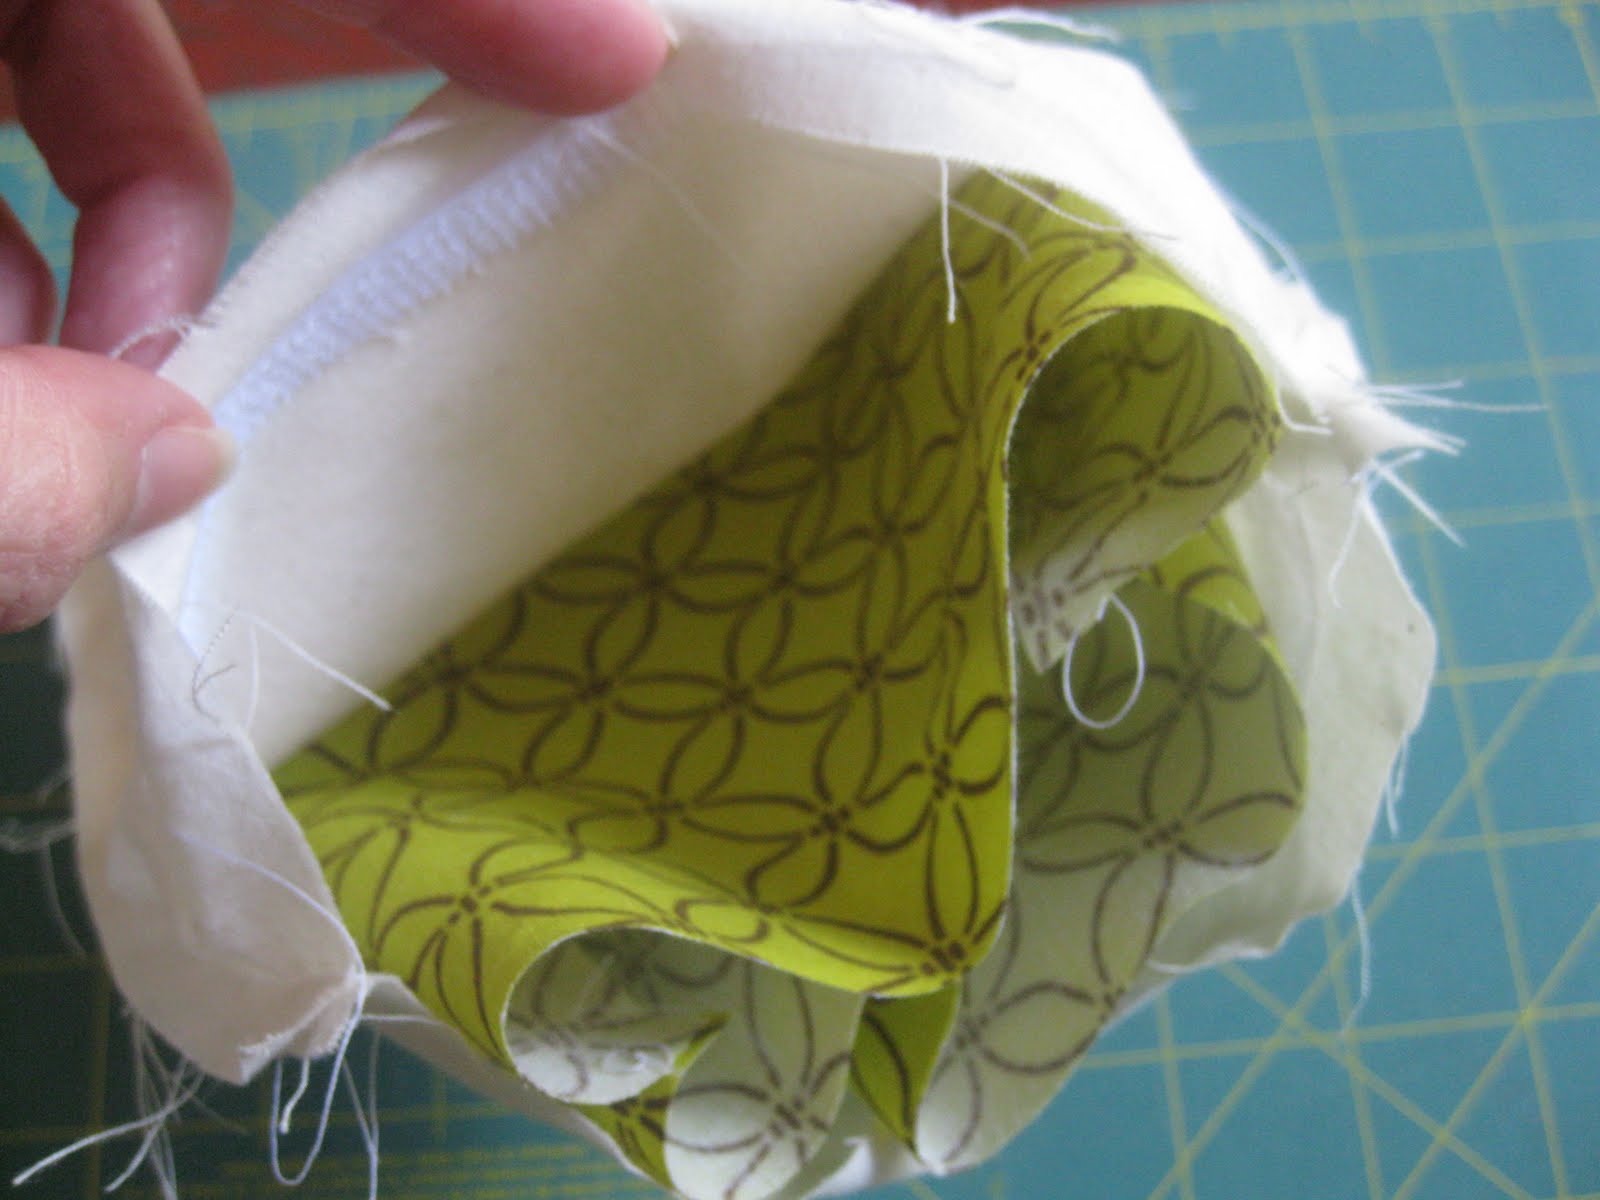
Now I put the 2 pieces of velcro together, "closing" the lining and sew up each side (on the wrong side of the fabric) now you have a pouch.

Next take your outer fabric and fold it in half, wrong sides facing you just like the lining and sew up the sides. Now you have 2 pouches :)


You can aslo use PUL instead of a lining and make a wetbag for swimsuits, swim diapers, cosmetics, etc. :)
Thanks for stopping by! Happy sewing!!

2 comments:
thanks for the tutorial! i cant wait to make for my toddler!
I made some of these a while ago for my 3 year old to take his apples to kindy. Not from this tutorial - but I wish I had seen it though, it would have saved me some time figuring out how to make them!
Post a Comment